
Happy early morning! I really should be in bed but instead I decided to fix the chip in my most recent mani...and I thought it would be a perfect opportunity to make a pictorial to share with you all!
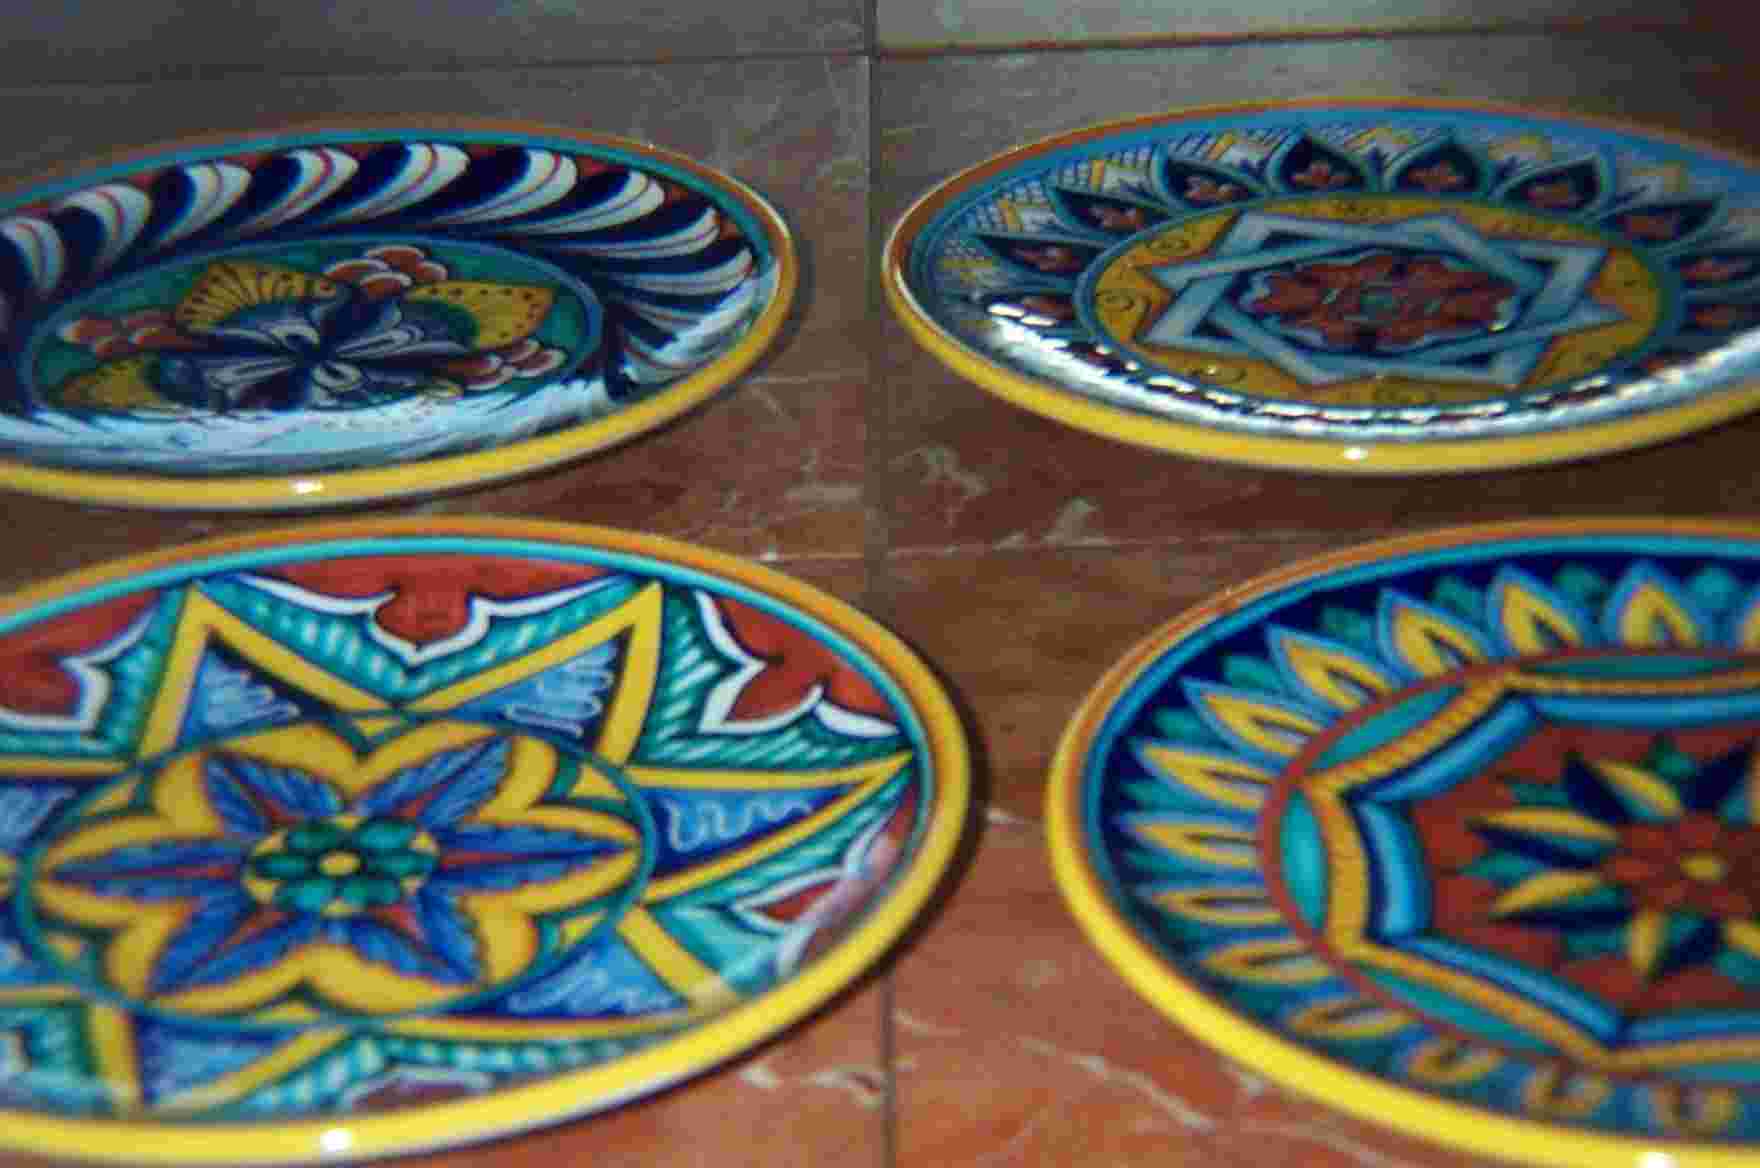
I recently found out that the style of art I was inspired by is actually called Majolica. I love this style so much so I'm glad to know what it's actually called ;)
Anyway, on to the pictorial! For this mani, you'll need a detail brush and a small dotting tool or toothpick, as well as several different polishes. I think you could easily do this with 2 colors, alternating for each step, but I like the bright colors all together.

1. Paint your base color and let it dry completely. I always use a top coat between my base color and my nail art, but this is personal preference.
2. With your detail brush, paint a plus sign in the middle of your nail.
3. Create another plus sign, but rotated at 45°. This should create 8 different "petals."
4. Using your detail brush, fill out each petal using the lines from steps 2 & 3 as your template. Try to create 8 tiny ovals.
5. Repeat steps 2 & 3 on a smaller scale with a new color.
6. Create the first inner petals by making tiny triangles, again using the line work from step 5 as your template.
7. Using your dotting tool and a new color, create the inner flower with either a simple dot or 8 tiny dots in each triangle (as I have shown).
8. Repeat Step 7 with your final polish color.
9. I added some darker orange and red to the outer petals to add some dimension and then added some top coat after waiting a bit for your polish to dry.
I used a total of 7 polishes for this one, my smallest dotting tool, and my new detail brush :)


I always struggle with figuring out how to explain each of the steps I take. It's a lot harder than it seems and I never feel like I do a very good job of it. I was getting frustrated with it tonight so I brought my boyfriend over to tell me how he would explain each of the steps based only on looking at the photo. Here is his very simplified version of this pictorial as he said them to me:
1. White coat
2. Add cross
3. Uh...rotate the crosses
4. Parabolas
5. Little baby crosses (red)
6. Make em' triangles
7. Easy...spinach!
8. Blue spot
9. Top coat
I guess I'll keep him around ;)
Let me know if you have questions and happy polishing!!


